In keeping with the "cheap and practical" theme of my touring kit, I decided to experiment with constructing my own waterproof panniers. For the containers themselves, I utilized Kingsford charcoal buckets since they are sturdier than most other plastic containers I've found, are completely waterproof, are narrow and have an easy access lid built in. The containers themselves cost about $12 each at home depot, so the total cost was somewhere in the neighborhood of $26 including tax. That was it. No other purchases were required as I utilized spare/scrap parts and a bit of rope I had lying around. If one had to purchase all the components, total cost would probably be in the $50 range.
I can't claim that I originated this idea, as I didn't even know this type of container existed prior to finding an Instructable detailing their use as panniers, but I do believe that my mounting system is an improvement over the one used by phish814.
On to the construction: First the racks were installed on the Aurora. Somehow, they had managed to change dimensions during the final weld, so I had to spend a little vise time getting the mounting points lined up correctly.
 |
| The racks don't actually look all that bad! |
 |
| Shifter cable was routed inside to avoid interference by pannier |
Once the racks were installed, I took the pieces of aluminum channel to be used as the "hooks" and drilled bolt holes before placing them in their approximate positions on the containers.
 |
| There are holes in that metal- I don't know why they don't show up |
I had originally intended to use short carriage bolts and large washers to attach the channel to the containers, but that would require (gasp!) purchasing bolts! This clearly wouldn't do, so I went looking for a free solution in the pile of dead bikes behind the shop.
 |
| Observe: a cheap, dry rotted brake pad |
 |
| Cut off the rubber, and all you have left is a metal plate with a short protruding bolt |
 |
| Its like it was made for this! |
 |
| The bolt length is perfect |
Once the forward bolt was installed, the pannier-to-be was placed on the rack and adjusted before drilling the second hole and setting the angle of the mount.
Once the top mount was installed the bottom mount was installed as shown below. Its function is twofold: to keep the pannier from swinging out under any circumstance, and to keep the pannier from trying to level itself when loaded. The bottom mount is three inches long to the top's six, and it fits snugly on the bottom rail of the little rear triangle on my rack. A single bolt (er, brake pad) was used to mount the bottom rail, as it is meant more for stabilization than load bearing and it is useful to be able to change its angle as the pannier is slid forward/backward on the rack.
 |
| The second pannier is just a mirror image of the first |
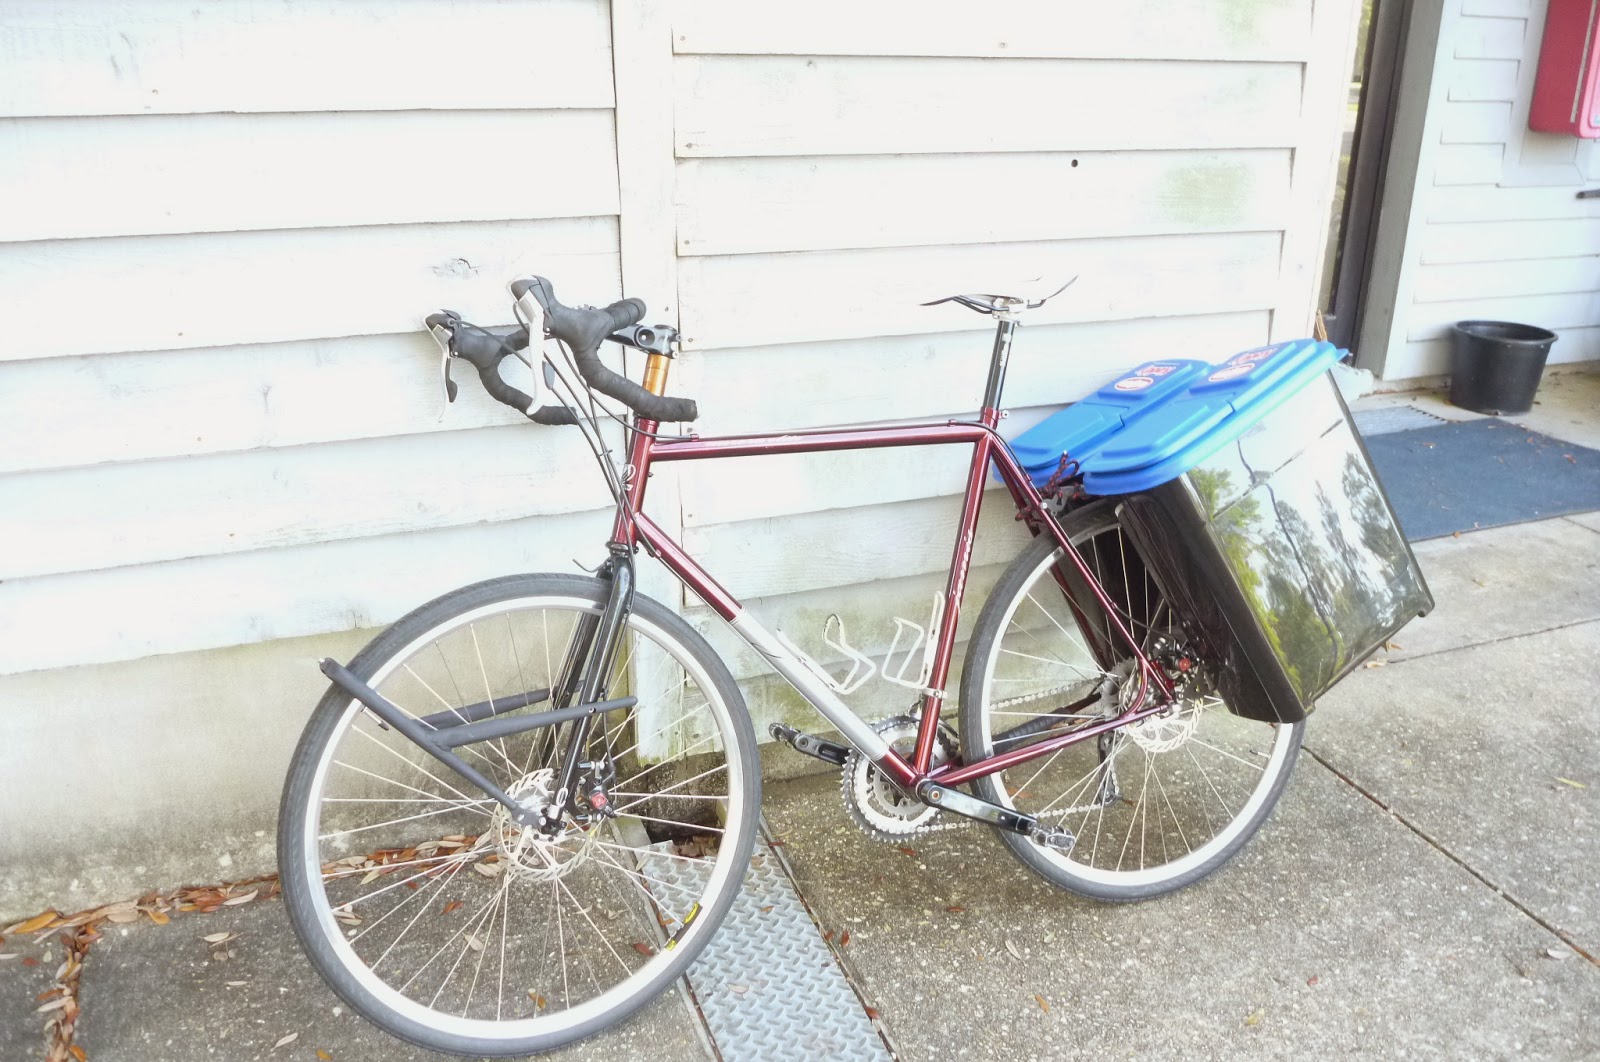
Once both panniers were completed, I experimented for a while trying to find the best way to secure them so that they would not bounce off the rack. I originally considered drilling holes in the mounts and the rack so that they could be bolted together, but eventually settled on using a rope to lash the top mounts down. I'm still not completely comfortable with this setup, but its good enough to test it for a few weeks before trying anything else.
The panniers have surprisingly little effect on handling when lightly loaded, and don't look terrible for a cheap solution either. Final judgement is reserved until after I load them with water and bricks (or perhaps beer and ice) and attempt to go trail riding. Should be fun times.


When do you leave for your trip, asaface? Help me procrastinate on my hw by updating your blog durrr
ReplyDelete