Due to the fact that
A) my new touring bike is disc brake only and
B) the fact that Jamis engineers in 2010 were incapable of putting a rear disc caliper ahead of the chainstay where it won't be in the way of rack mounting points, I had a bit of an issue figuring out where I was going to find racks which would work on my tourer.
Add to the above issue the fact that a decent set of racks (assuming they even work with poorly designed disc frames) will generally run close to or over $100 individually for front and rear, and there's a pretty strong incentive to come up with an alternative solution. Fortunately, I've got access to loads of scrap bike frames, and own a welder which I keep in my parent's garage/workshop about 45 minutes away from school.
The general idea was to utilize the chainstays and dropout from a steel-framed full-suspension bike and orient them such at the rack passed behind the disc caliper.
 |
| The original disc-workaround concept |
 |
| Its a pretty tight fit between the lever arm and the stays |
 |
| Another set of chainstays serve as the top bars of the rack |
|
|
While I was designing a rear rack, I decided that I might as well work on a front "lowrider" style rack as well. Cue slicing up another hapless scrap bike:
 |
| Sharp edges aplenty |
I actually cracked a rib whilst snipping one of the dropouts in half with a set of bolt cutters- turns out bracing one handle against your chest is a
terrible idea. Not a huge deal; I ran the McGuires 5k the next morning and two weeks later I can almost do pullups again!
Anyway, back to the general design of the front racks:
 |
| That's one rear triangle completely re-purposed |
 |
| Thought about putting a platform on the front rack, but decided against it |
Any further progress in the rack design and construction department depended on the arrival and installation of the front fork, so this project languished for a few weeks until yesterday... At which point I feverishly assembled the bike, headed out for home, and spent until 3 AM working in the shop.
 |
| My (cluttered) workspace |
Prior to any cutting or welding, all rack parts were cleaned to bare metal with an angle grinder and a wire brush.
 |
| PPE is a good thing |
 |
| Would you believe that this was covered in old, flaking paint and rust shortly prior to this photo? |
The rear rack, being the highest-priority item, was constructed first.
 |
| Start with a (partial) rear triangle |
 |
| Cut lower chain-stays in half at 45 degree angle and flip |
 |
| I'm of the opinion that welding gear looks badass |
 |
| Welded rear portion of rack- the "triangles" are to prevent loads from swinging into the rear wheel |
 |
| The rack was mounted to the frame in order to spot-weld the top rails into place |
 |
| The top rails partially welded into place |
 |
| Some truly awful looking welds (but I got penetration!) |
 |
| The finished rack |
 |
| Mounted on the bike |
The front rack was simple in comparison to the rear, since I decided that I didn't want a platform and only wanted to mount low-rider panniers.
 |
| The individual parts were bolted to the fork... |
 |
| ...then welded into position |
 |
| Final welding was performed while the rack was vise-mounted |
All that remained at that point was to spray a coat of paint on the racks and drag my tired self through a shower and into bed. Pictures of the final results are from next morning.
 |
| I felt about how I look in this picture |
 |
| Front |
 |
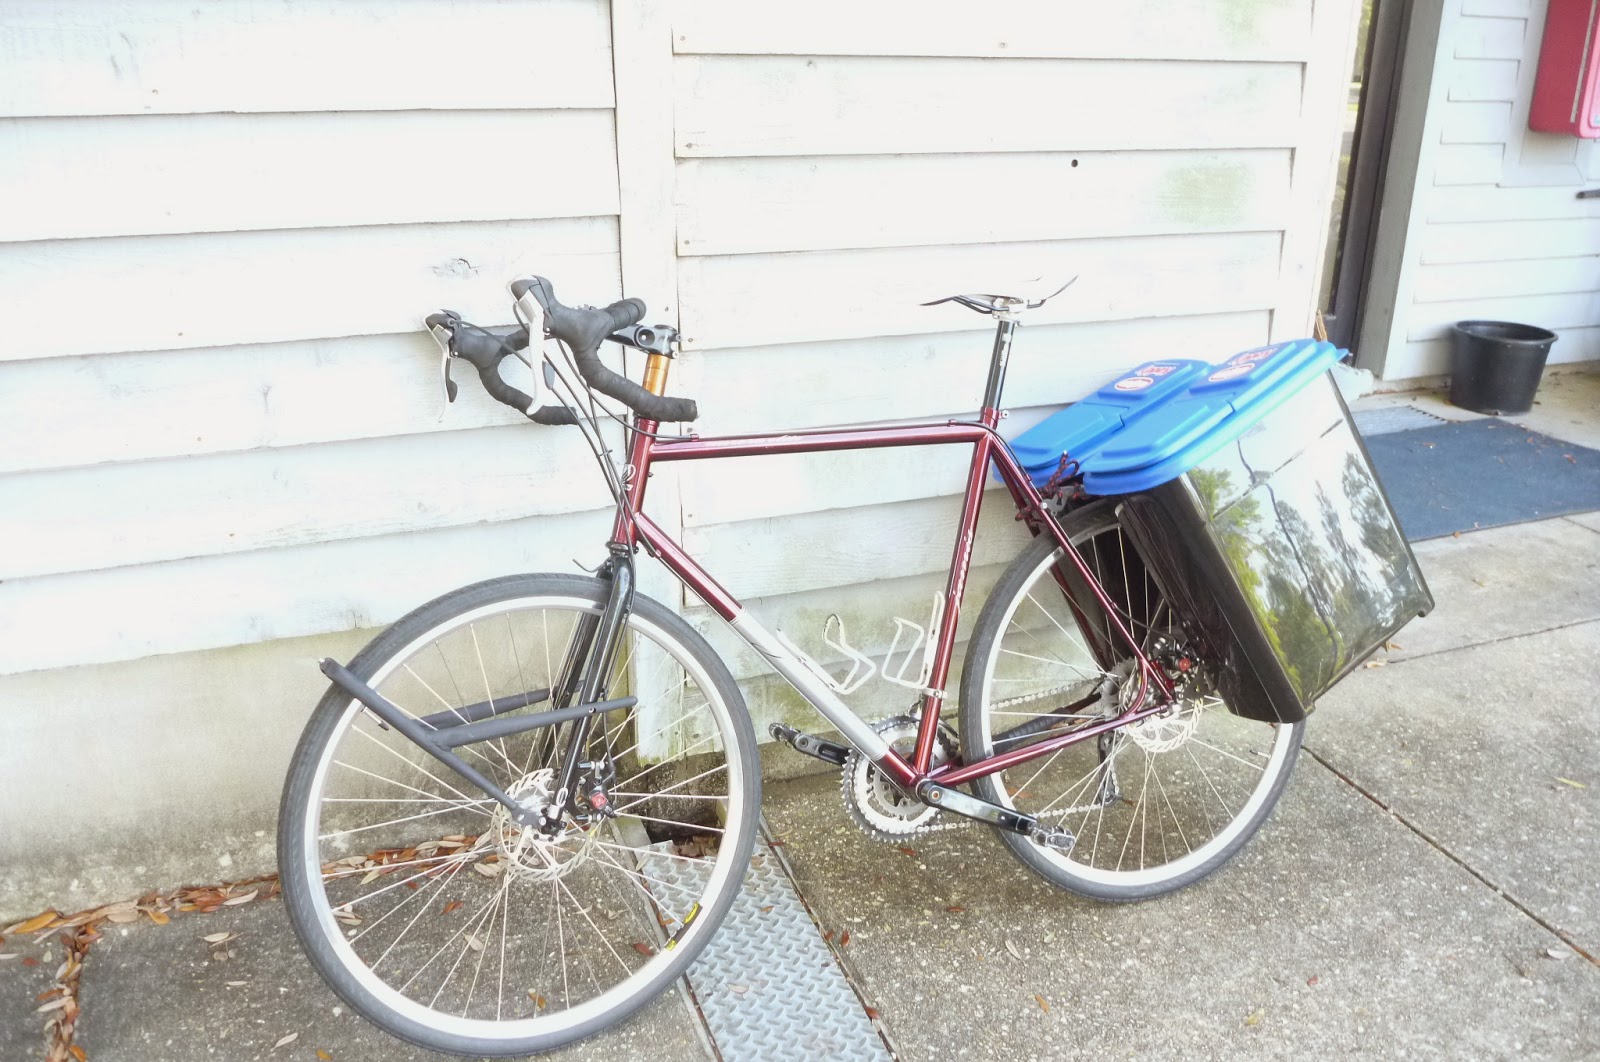
| Rear |
I'm probably going to paint them something other than flat black before installation.
Upcoming: I build/repurpose panniers, mount them to the racks in some clever and not-yet-fully-developed fashion, then ride the loaded bike a short distance before complaining about how heavy it is!


